

Scripts can automate shelf processing with XPace. Routine activities can then be carried out at the touch of a button, and entire workflows for updating shelves and reporting become child’s play with a good script.
Hello World
As usual in programming, the first step in this article is to show the output of a simple text: The character string “Hello XPace World” is to be output on the XPace console.
Generate script file
Create a text file named HelloWorld.js somewhere on your hard disk. Make sure you have the correct file extension .js! Our suggestion: First create a folder named scripts in the docroot folder of your XPace database, which you can use for all your scripts in the future.
Edit the newly created file with a text editor, e.g. Notepad (Word is not a text editor!). Insert the following source code (without the line numbers):
// write text to console:
Console.writeInfo("Hello XPace World");
The comment line // write text to console: is not important for the execution and can be omitted if desired.
Install and start script
 You can now install the new script in XPace, using
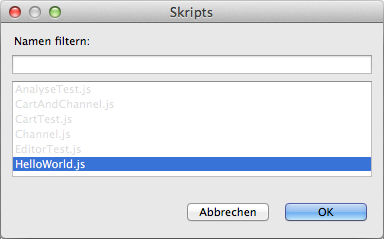
Script ➜ Manage
Script ➜ Add script
and start it with
Script ➜ Run
The console displays the following output
Hello XPace World
*** Ready
Congratulations – you wrote and executed your first script!
Of course, this is only a first introductory example of how to create, install and execute an XPace script. Truly productive scripts that automate planogramming access the objects in a planogram, call up reports and analyses, filter products, change product placement and much more.
The Planogramming API is documented in the XPace Scripting manual.